
An air compressor is a must-have when it comes to all the DIY projects you can take upon in your garage or workshop. With an air compressor, you can inflate tires, power pneumatic tools and much more. However, setting up a garage air compressor properly requires some thought and consideration. Although it’s not overly challenging, you will need to take the right steps to ensure that the setup runs smoothly.
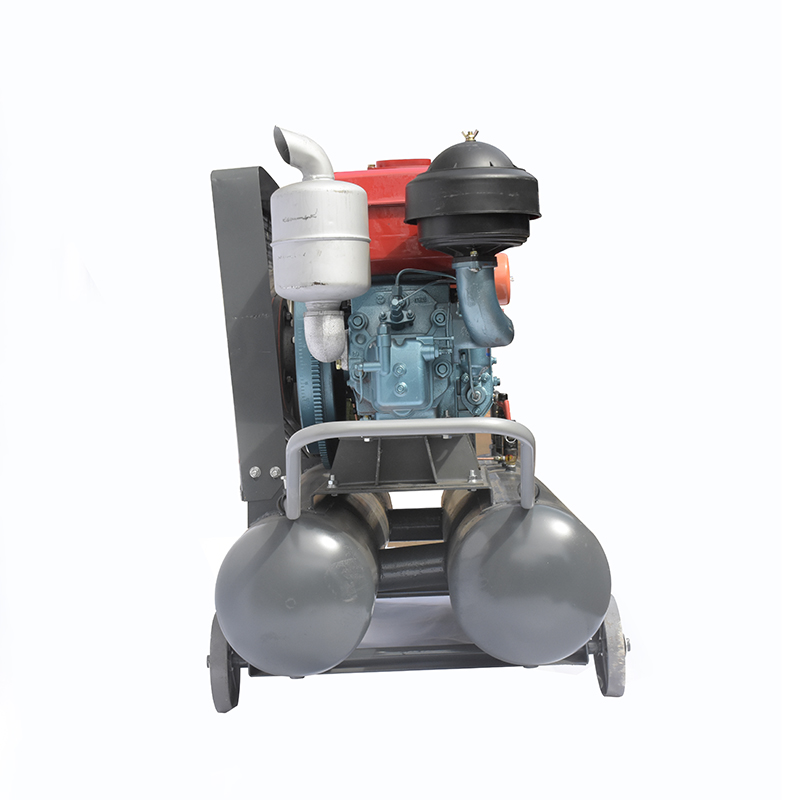
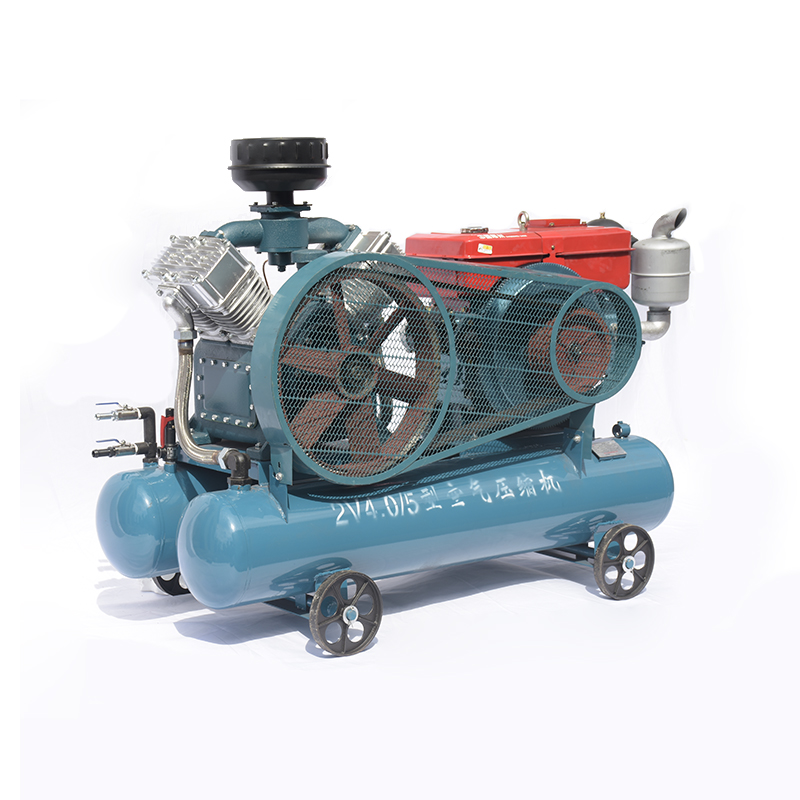
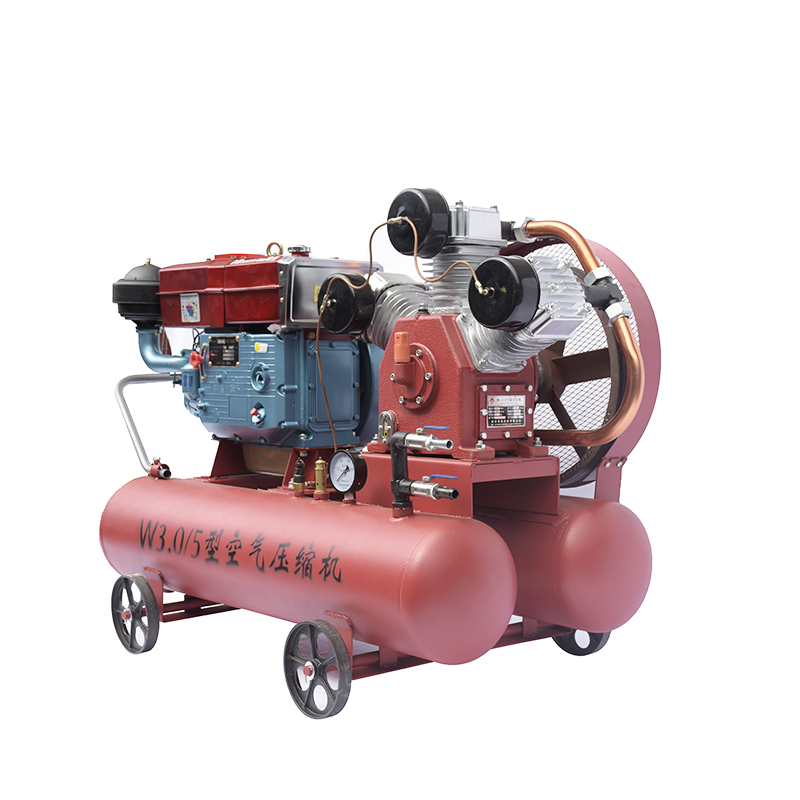
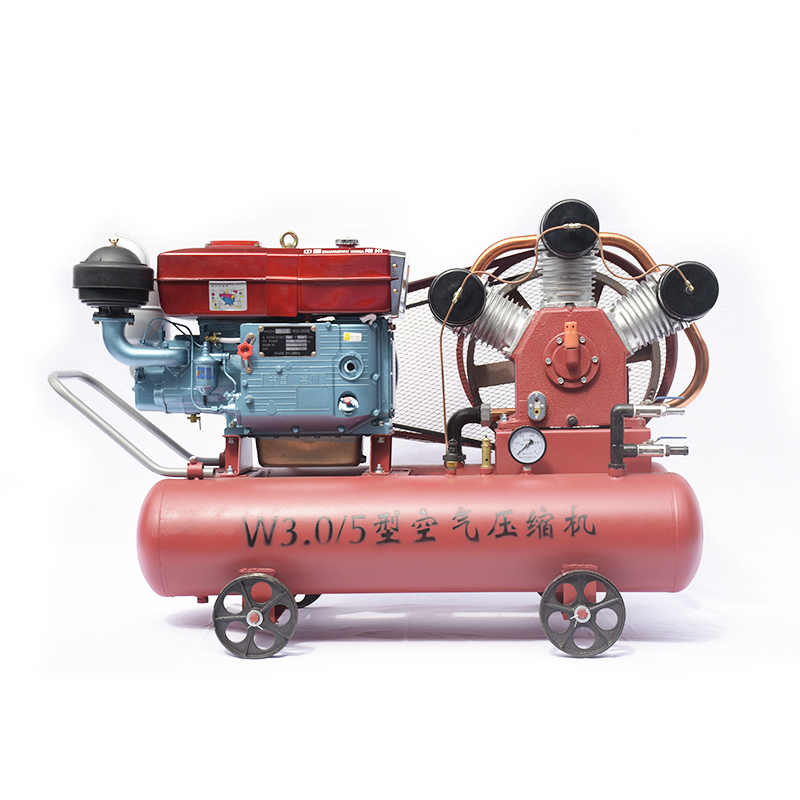
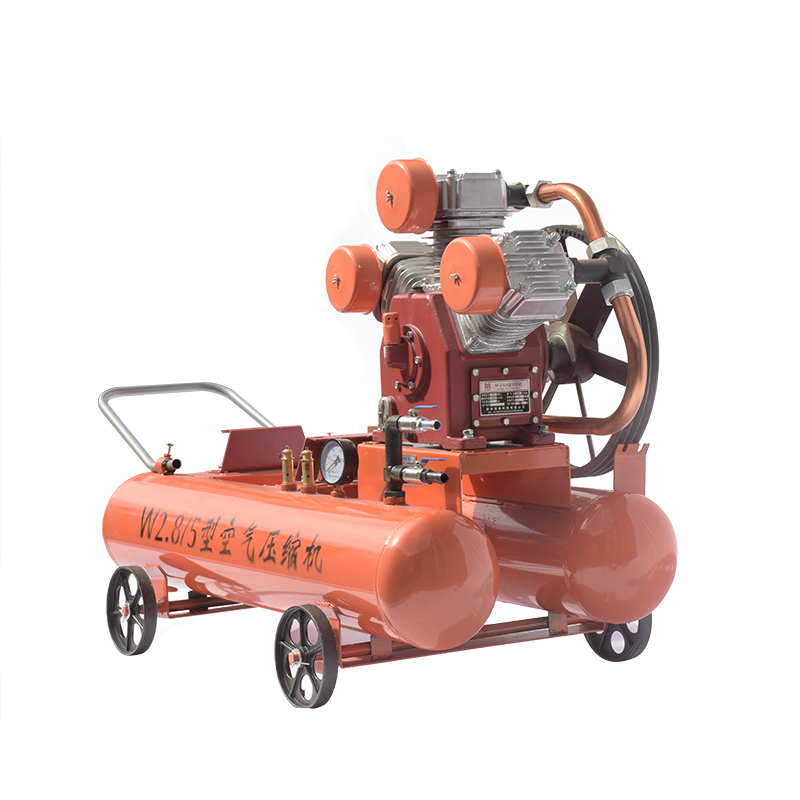
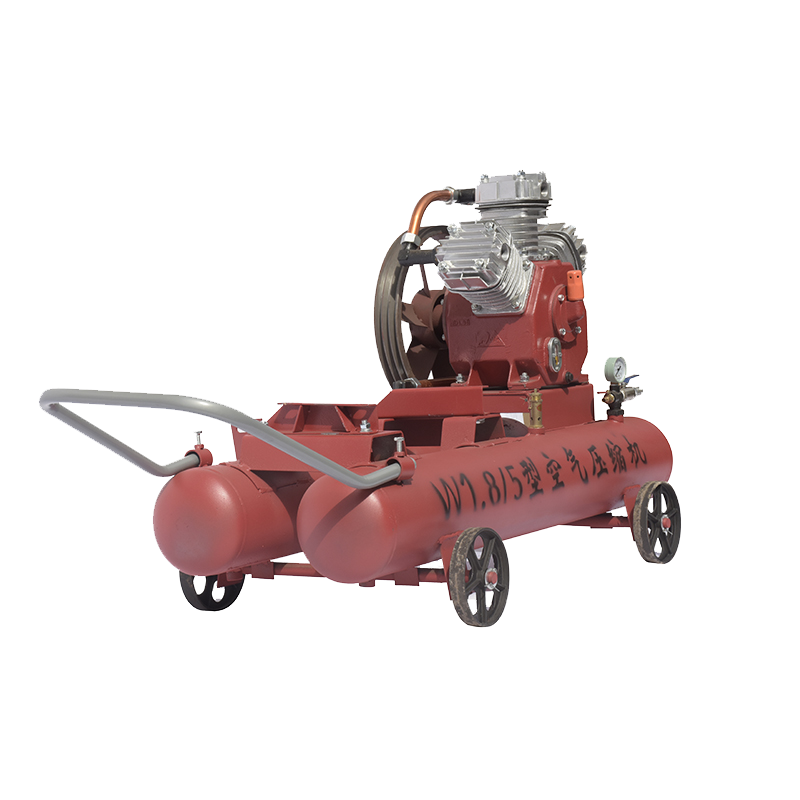
Choosing the right air compressor for the garage comes down to understanding the trade-offs between gas-powered, electric, and portable models. A gas-powered compressor typically provides the most power and a steady flow of air but requires maintenance over time and costs the most. Electric models are more economical but may not be able to handle large projects. Portable models are budget-friendly but offer limited output and need to be refilled more often.
Once you’ve figured out what type of air compressor is the best choice for you, the next task is to pick a place for it. The place you opt for should be close enough to the work zone to be convenient, but far enough away from any foot or vehicular traffic. Also, the spot must allow for adequate ventilation to prevent the formation of excess moisture and must have a level surface to prevent vibration.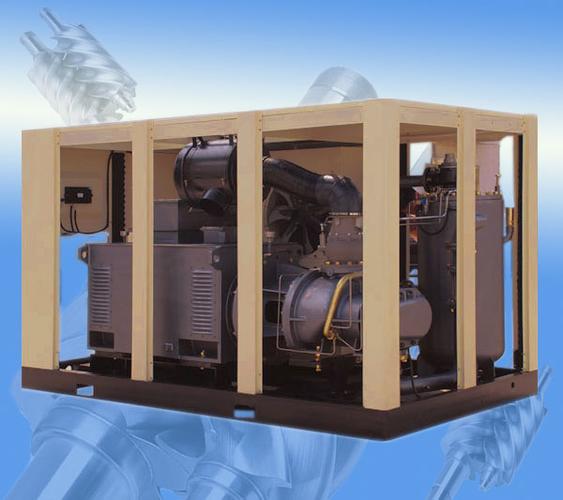
Knowing what size compressor is essential for the job requires two things: ascertaining the workload and then utilizing that information to determine the size of the machine. The more involved the task, the bigger the compressor must be – along with its tank and power requirements.
After assessing the size of the compressor, it is time to affix it in place. This could involve installing it on a wall or setting it atop an appropriate stand. If a wall mount is chosen, fasten the device securely to ensure no rattling occurs. When positioning the compressor on a stand, make certain the base is leveled and firmly bolted.
For the following step, it is essential to attach the compressor to an available power source. This may require either an extension cable or a dedicated outlet. Before making this connection, be certain that the wattage rating of the power source is suited to ensure the compressor’s safety and that a ground fault circuit interrupter (GFCI) is installed at the outlet. Doing so can help forestall electric shocks should the compressor be jolted and slip from your hands.
To conclude the setup process, the compressor needs to be interconnected with the air distribution lines. Flexible tubing or rigid piping can be adopted for this purpose depending on what would suit best. The secure connection to the compressor should be furnished through a quick-connect coupling; clamps then ensure the lines have been properly secured. As a safety measure, these lines should stay away from areas of high movement as well as moisture.
A successful garage air compressor setup requires following specific steps to guarantee that the compressor is properly and securely established. By covering the necessary details, a homeowner can be sure their air compressor will operate with dependability for many years to come.
Unleash the potential of your garage by investing in an air compressor! This handy gadget can be an invaluable tool for anyone who spends time on car repairs, bike maintenance, and other projects that need the use of air. It can help you inflate tires, clean components, and even operate independent tools. This guide will provide tips to help you set up your new air compressor – so you can put it to work right away!
Determining Your Air Compressor
Finding the perfect air compressor for your garage is an important decision. When considering which one to purchase, you’ll need to think about size, model, power supply, and cost. Some models are suited for light duties and others possess the strength to cope with tougher projects. Ultimately, it all comes down to the type of work that you intend to undertake with the compressor.
Assemble the Tools of the Trade.
Assembling the supplies for your air compressor installation is the first step. Everything from air hose and tools to a proper mounting bracket is essential for setup. Don’t forget to check if your electrical wiring has the necessary outlets and if you are up to code!
Get Set for Installation: Prepping the Mounting Area.
When your setup is equipped with the must-have components, it is essential to ready the attachment region. Seek out a spot that is both even and without any Dirt; This will ensure that the compressor is fastened firmly and kept away from plants of heat or wetness.
Final Step – Add an Air Compressor
With the mounting area prepared, you can now set up your air compressor. First, affix the bracket that will hold it in place to either your wall or your floor – then, attach the compressor itself to the bracket using the required screws. After that, link up the air hose to both the compressor and the relevant outlets.
Finalizing the Evaluation of the Air Compressor
To ensure your air compressor is up and running, commence by turning on the power switch then examining the pressure gauge. Make sure the air pressure is ideal before proceeding to test it further by using it for inflating a tire or cleaning a part.
Preserving Your Air Compressor’s Functionality
In order to keep your air compressor functioning as it should, it is essential to ensure that it is serviced and taken care of properly. This means routinely inspecting the pressure dial, tidying the filter, and greasing the movable components. Additionally, make sure that all air hoses are in good condition and the compressor is locked away when not in use.
Getting your garage air compressor ready for use doesn’t have to be an intimidating job. All you need to make it happen is the right list of components, a flat space to mount it on, and a handful of everyday tools. If you take the following guidelines into account, there’s no reason you won’t have your air compressor roaring in no time.

Post time: 2023-08-04
