
For those handy around the workshop, an air compressor is a must-have to operate an array of tools from nail guns to sanders. While buying an air compressor off the shelf can be convenient, building one yourself offers a more affordable option and a sense of pride. Taking on this project can be a great way to save funds while also feeling accomplished.
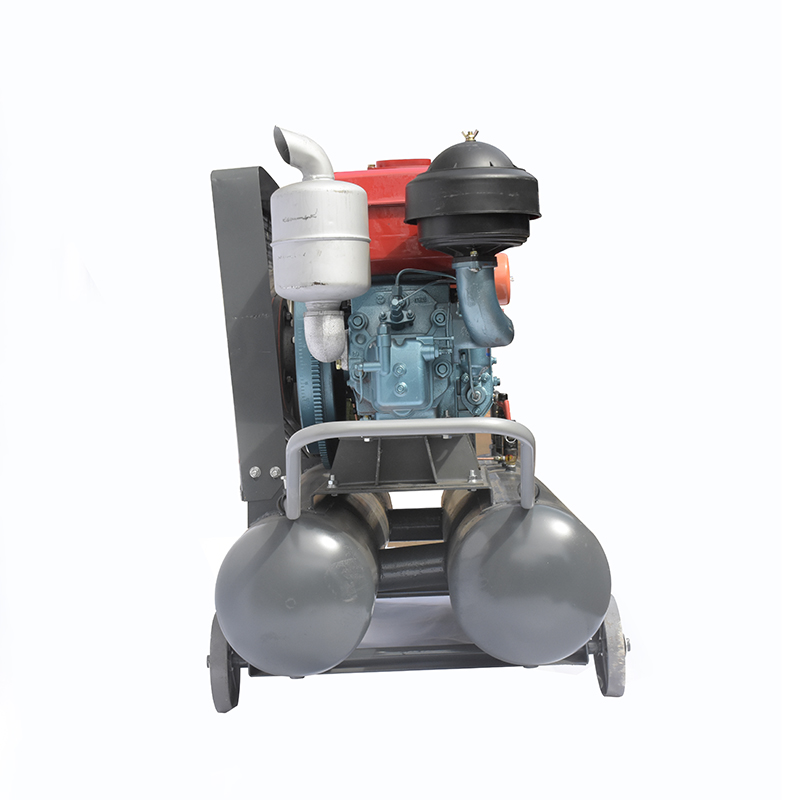
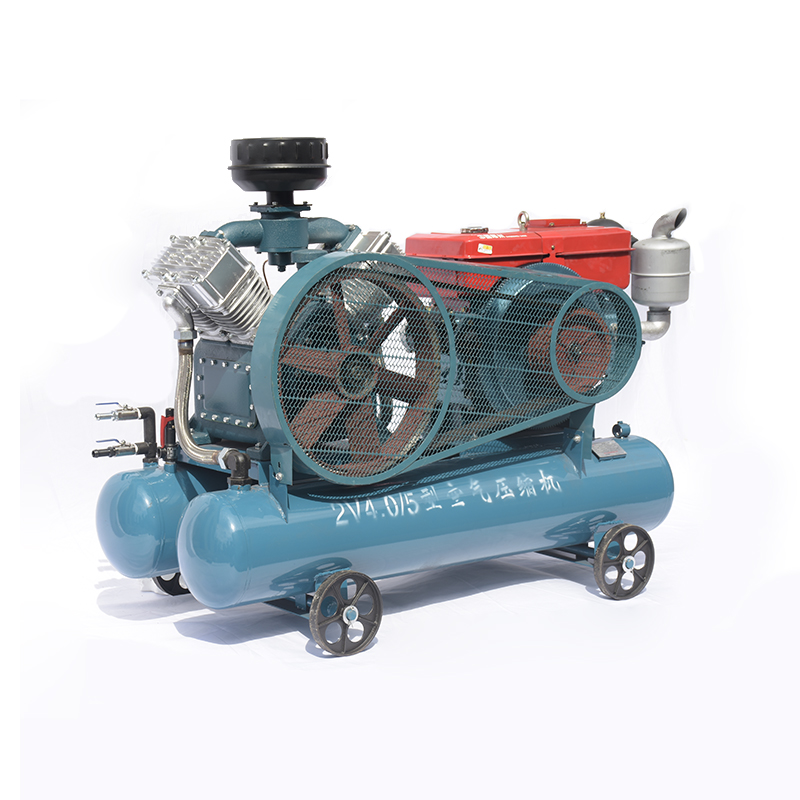
The size and type of air compressor you choose to build will depend on its intended use. For light tasks like inflating tires, a more compact, mobile model would work well. On the contrary, a bulky, stationary model is preferred when powering different tools. Alternately, if you are looking to utilize the air compressor for intermittent projects, a smaller, portable system should be adequate.
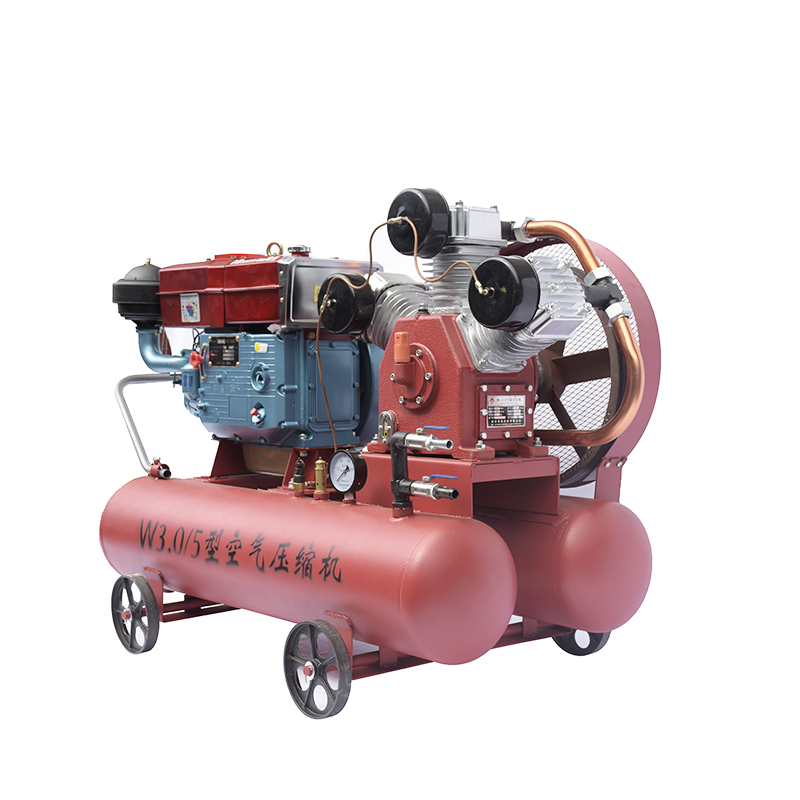
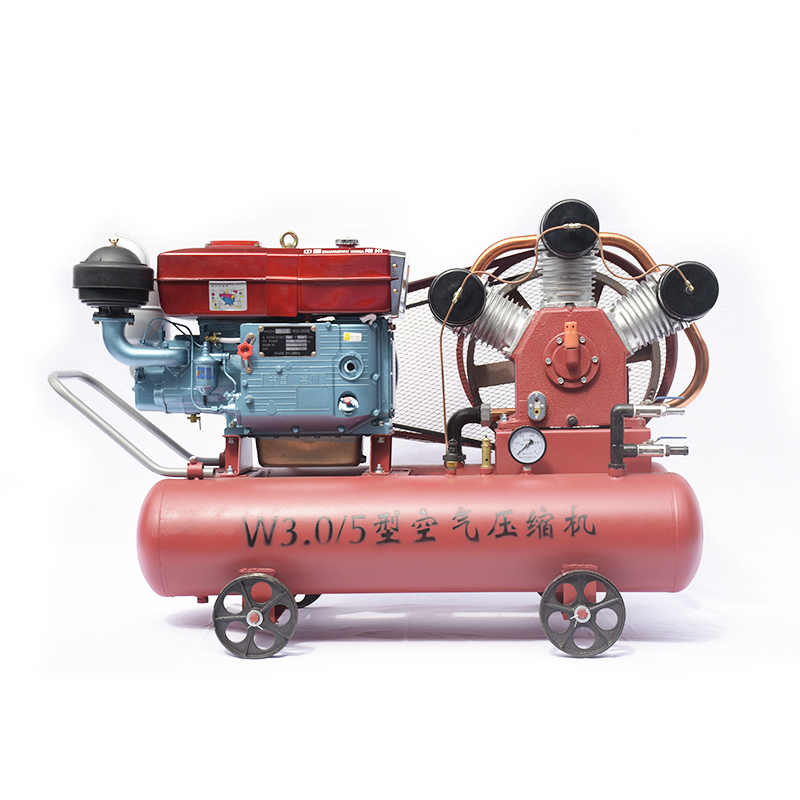
Once the size of the compressor has been determined, it is time to select the necessary components to construct it. A traditional air compressor includes an air tank, a motor, a regulator, a pump for compressing the air, plus fittings and hoses for connecting the components to each other.
With the next step in constructing your air compressor, you will need to assemble the components. Commence by affixing the air tank to a solid surface, like a wall or workbench – ensuring its security of stay during use. Afterwards, couple the pump with the tank and ensure they are firmly connected through bolts. Thirdly, connect the motor and pressure regulator to the tank. Lastly, attach the hoses and fixtures to the components and guarantee no air escapes by ensuring all connections are sealed properly – leaks can interfere with how the compressor runs.
Assembly complete? Perfect. Now it’s time to trial the air compressor. Ready? First, link up the power source and ensure its capacity is proportional with what the compressor demands. Then switch on the power source – followed by the compressor – and begin your inspection for any air leakages. When all is running smoothly, expect to see a gradual buildup of pressurized air in the tank.
Once the air compressor is in working order, it is essential to take some basic steps for its upkeep. It should be checked regularly for any possible air leakages and must have its parts replaced if any component is either damaged or worn out. To ensure that it continues to run smoothly, the air tank must remain clean and free of dirt and rubbish. Lastly, it is important to ensure that the power source is properly connected and adequately rated for its power needs.
An economical and worthy endeavor, constructing an air compressor can give you a reliable and strong source of air power to complement your workshop. With the applicable parts and a decent grasp of the associated information, you can construct your very own air compressor and, with due attention and maintenance, it will assist you for years to come.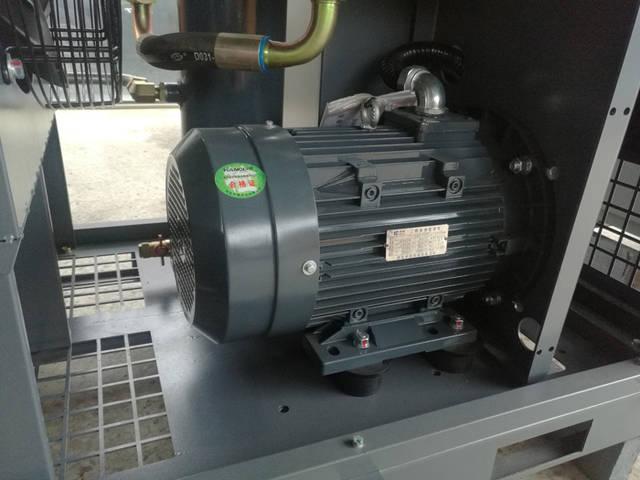
Handymen everywhere can benefit from the immense versatility of the air compressor tool – using it to power tools like nail guns and air ratchets as well as to inflate tires and more. If cost is a factor, consider building your own air compressor for your specific needs! To get you started on your air compressor creation, this article covers the components that should go in it, how to set it up, and some troubleshooting insights.
The process of creating an air compressor begins with attaining the components. For this, you’ll need an electric motor fit for the compressor’s power needs and able to provide extended operation. Likewise, a pressure switch is key to automating a shut-down once the pressure of the tank reaches its maximum, while an air filter stops dust and particles from infiltrating the system itself. Moreover, it’s worthwhile to acquire a pressure regulator so that you can customize the pressure in the tank. Last but not least, you’ll need an air tank to store all the compressed air.
When you have all your parts, you can start putting it together. Secure the electric motor onto a foundation or base, making sure it is held firmly and that the shaft is facing in the same direction as the air tank. Connect the pressure switch afterwards, which will be responsible for stopping the motor when the pressure in the tank hits a pre-determined value. Finally, place the air filter alongside the motor intake to complete the assembly process.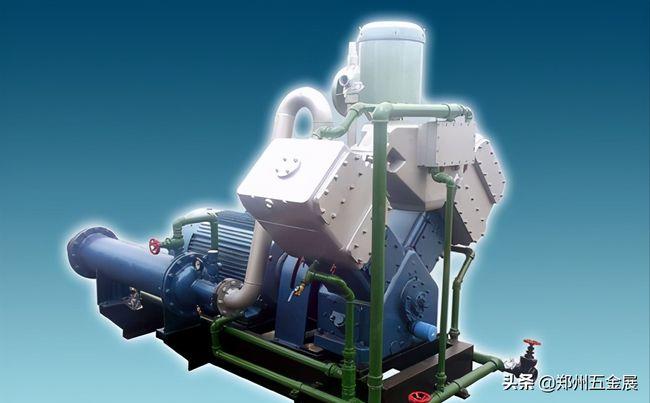
Connecting the air tank and motor requires a few steps for a secure fit. First, make sure the tank is firmly affixed, with the air intake valve open. Then connect the pressure regulator to the tank, so you can adjust the inner pressure to your desired level. To finish, connect the motor’s output to the tank’s air inlet.
Having checked that all parts are present and ready to go, you can begin the process of testing the air compressor. To begin, attach the electric motor and activate it- ensuring that it functions without any irregularities. Subsequently, evaluate the pressure within the tank- confirming that it is located at the desired measurement and that the pressure switch culminates motor functions when such target levels are reached. If the readings are not as expected, regulate the pressure gauge to manage them accordingly.
Before use, examine the air filter and make sure that it is clear of any dirt or debris. If there is an obstruction, delicately remove it and correctly reattach the components. After thoroughly assessing the status of the air compressor, you can attempt any assignment with confidence.
To get the most out of your money and craft an air compressor to meet you exact needs, nothing beats taking up the task of building it yourself. It may appear intimidating, but with a modicum of patience and the correct equipment, constructing an air compressor is definitely the sort of undertaking that is within your grasp. As you set about assembling everything, make sure to follow the instructions carefully and run double-checks on your components in order to maximize the success of the endeavor. With a bit time and effort, you’ll be using your own custom-made air compressor in no time!

Post time: 2023-07-19
